Need Help
Programming your router?
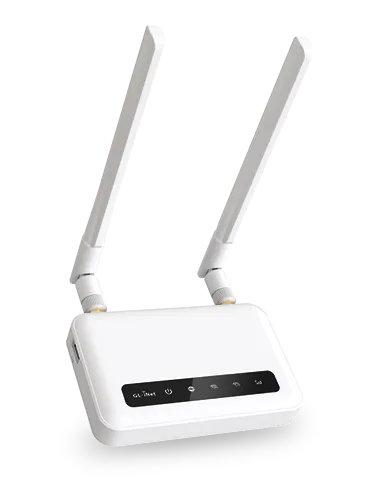
SPITZ X750 4G CAT 6 ROUTER

How Do I Program My Router?
This guide helps you make sure your internet router is working smoothly and securely. If you don’t feel confident doing this alone, a family member or SilverLink Internet Support can help.
Step 1: Log In to Your Router
Before you change any settings, you need to log into your router.
► Open a web browser (like Chrome, Safari, or Edge).
► In the top bar (where you type website addresses), type:
192.168.8.1
► Then press Enter on your keyboard.
► If it asks for a username and password:
Username: root
Password: 1234554321
✦ This opens your router’s settings screen, where you can safely make small changes.
Step 2: Wireless (Wi-Fi) Settings
These steps help your Wi-Fi run better by choosing the best signal automatically.
► Click the “Modify” button next to your Wi-Fi settings.
► Find the setting that says “Channel”
► Then change it to “Auto."
✦ This helps your router pick the best signal automatically.
Step 3: Applications – Remote Access
This feature lets you (or a helper) access your router safely from anywhere if needed.
► Look for a setting called “GoodCloud” and turn it ON.
► In the region dropdown menu, choose “America.”
► Check “Yes” to agree to the terms.
► Click “Apply” to save.
Step 4: Time Settings
Make sure your router’s clock is set to your time zone.
► Look for Time Zone settings.
► Click “Sync” to set the time automatically, – OR manually choose “America/Chicago” (Central Time).
► Click “Apply” to save.
► Click “Apply” to save.
That’s It – You’re Done!
Your router is now tuned up and ready to give you the best possible internet. If anything feels confusing or you need help, don’t hesitate to call SilverLink Internet Support at 888-214-4130. We're here to guide you step by step.
Need Help?
If any part of this is confusing or you just don’t feel comfortable doing it yourself, call SilverLink Internet Support at 888-214-4130.
We’re happy to walk you through it!

